


The Unsung Hero of Smooth Finishes: Unveiling the Finishing Sander Rotor
Within the heart of your finishing sander lies a crucial component: the rotor. Although often overshadowed by the sanding pad and abrasive paper, the rotor plays a vital role in achieving those smooth, professional finishes on your projects. Here’s a breakdown of this essential element:
Function:
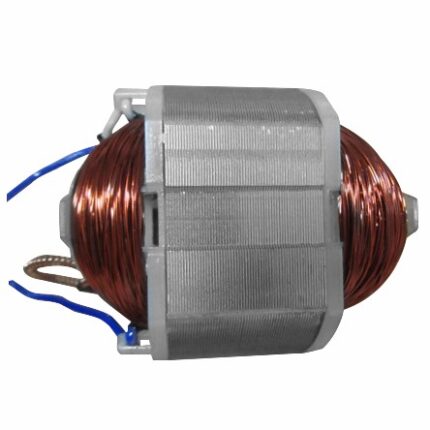
- Powerhouse of Movement: The finishing sander rotor is the rotating disc that transmits power from the motor to the sanding pad. This rotation creates the orbital or random orbital motion of the sanding pad, which allows for a more even sanding process and minimizes swirl marks compared to traditional sanders.
Construction:
- Material: Finishing sander rotors are typically constructed from lightweight yet durable materials like high-quality plastic or composite materials. These materials offer a good balance of strength, weight, and resistance to warping or deformation.
- Balance: A crucial aspect of the rotor is its balance. The rotor needs to be perfectly balanced to avoid vibrations during operation. Imbalanced rotors can cause excessive noise, wear and tear on the motor and bearings, and a less smooth sanding experience.
- Drive Mechanism: The specific design of the drive mechanism can vary depending on the sander model. Common configurations include:
- Eccentric Cam: This mechanism utilizes an off-center cam that rotates and creates the orbital motion of the sanding pad attached to the rotor.
- Counterweight System: Some rotors may incorporate counterweights to help maintain balance and minimize vibrations.
Maintenance:
- While rotors are generally durable components, proper maintenance practices can extend their lifespan. Here are some tips:
- Cleaning: Periodically clean dust and debris from the rotor surface with a soft brush or compressed air.
- Inspection: Regularly inspect the rotor for any signs of damage, cracks, or imbalances. If you notice any issues, replace the rotor promptly to maintain optimal performance and safety.
Replacement:
- Over time, rotors can wear out or become damaged. This can manifest as increased vibrations, uneven sanding patterns, or reduced motor performance. If you suspect a faulty rotor, it’s advisable to replace it with a manufacturer-recommended replacement part. Installing a rotor often requires some disassembly of the sander, so consulting a qualified technician is recommended for proper replacement.
In Conclusion:
The finishing sander rotor, though seemingly simple, plays a critical role in achieving those coveted smooth finishes. Understanding its function, construction, and maintenance needs allows you to appreciate its importance and maintain your sander for optimal performance and long-lasting service. Remember, prioritize using high-quality replacement parts when necessary to ensure continued smooth sanding and avoid potential damage to your sander.

Reviews
There are no reviews yet.